Are you tired of playing games on your old, slow computer? Do you want to experience gaming like never before? Look no further than building your own top-of-the-line gaming computer! Building a gaming computer may seem like a daunting task, but with the right parts and a bit of patience, it’s easier than you might think.

In this guide, we’ll provide a complete list of parts and step-by-step instructions on how to assemble them into the ultimate gaming beast.
Step 1: Choose the Right Components
The first step in building a gaming computer is choosing the right components. Here’s a list of parts you’ll need:
- CPU: Intel Core i9-12900K or AMD Ryzen 9 5950X
- Motherboard: ASUS ROG Maximus XIV Hero or MSI MPG B550 Gaming Edge WiFi
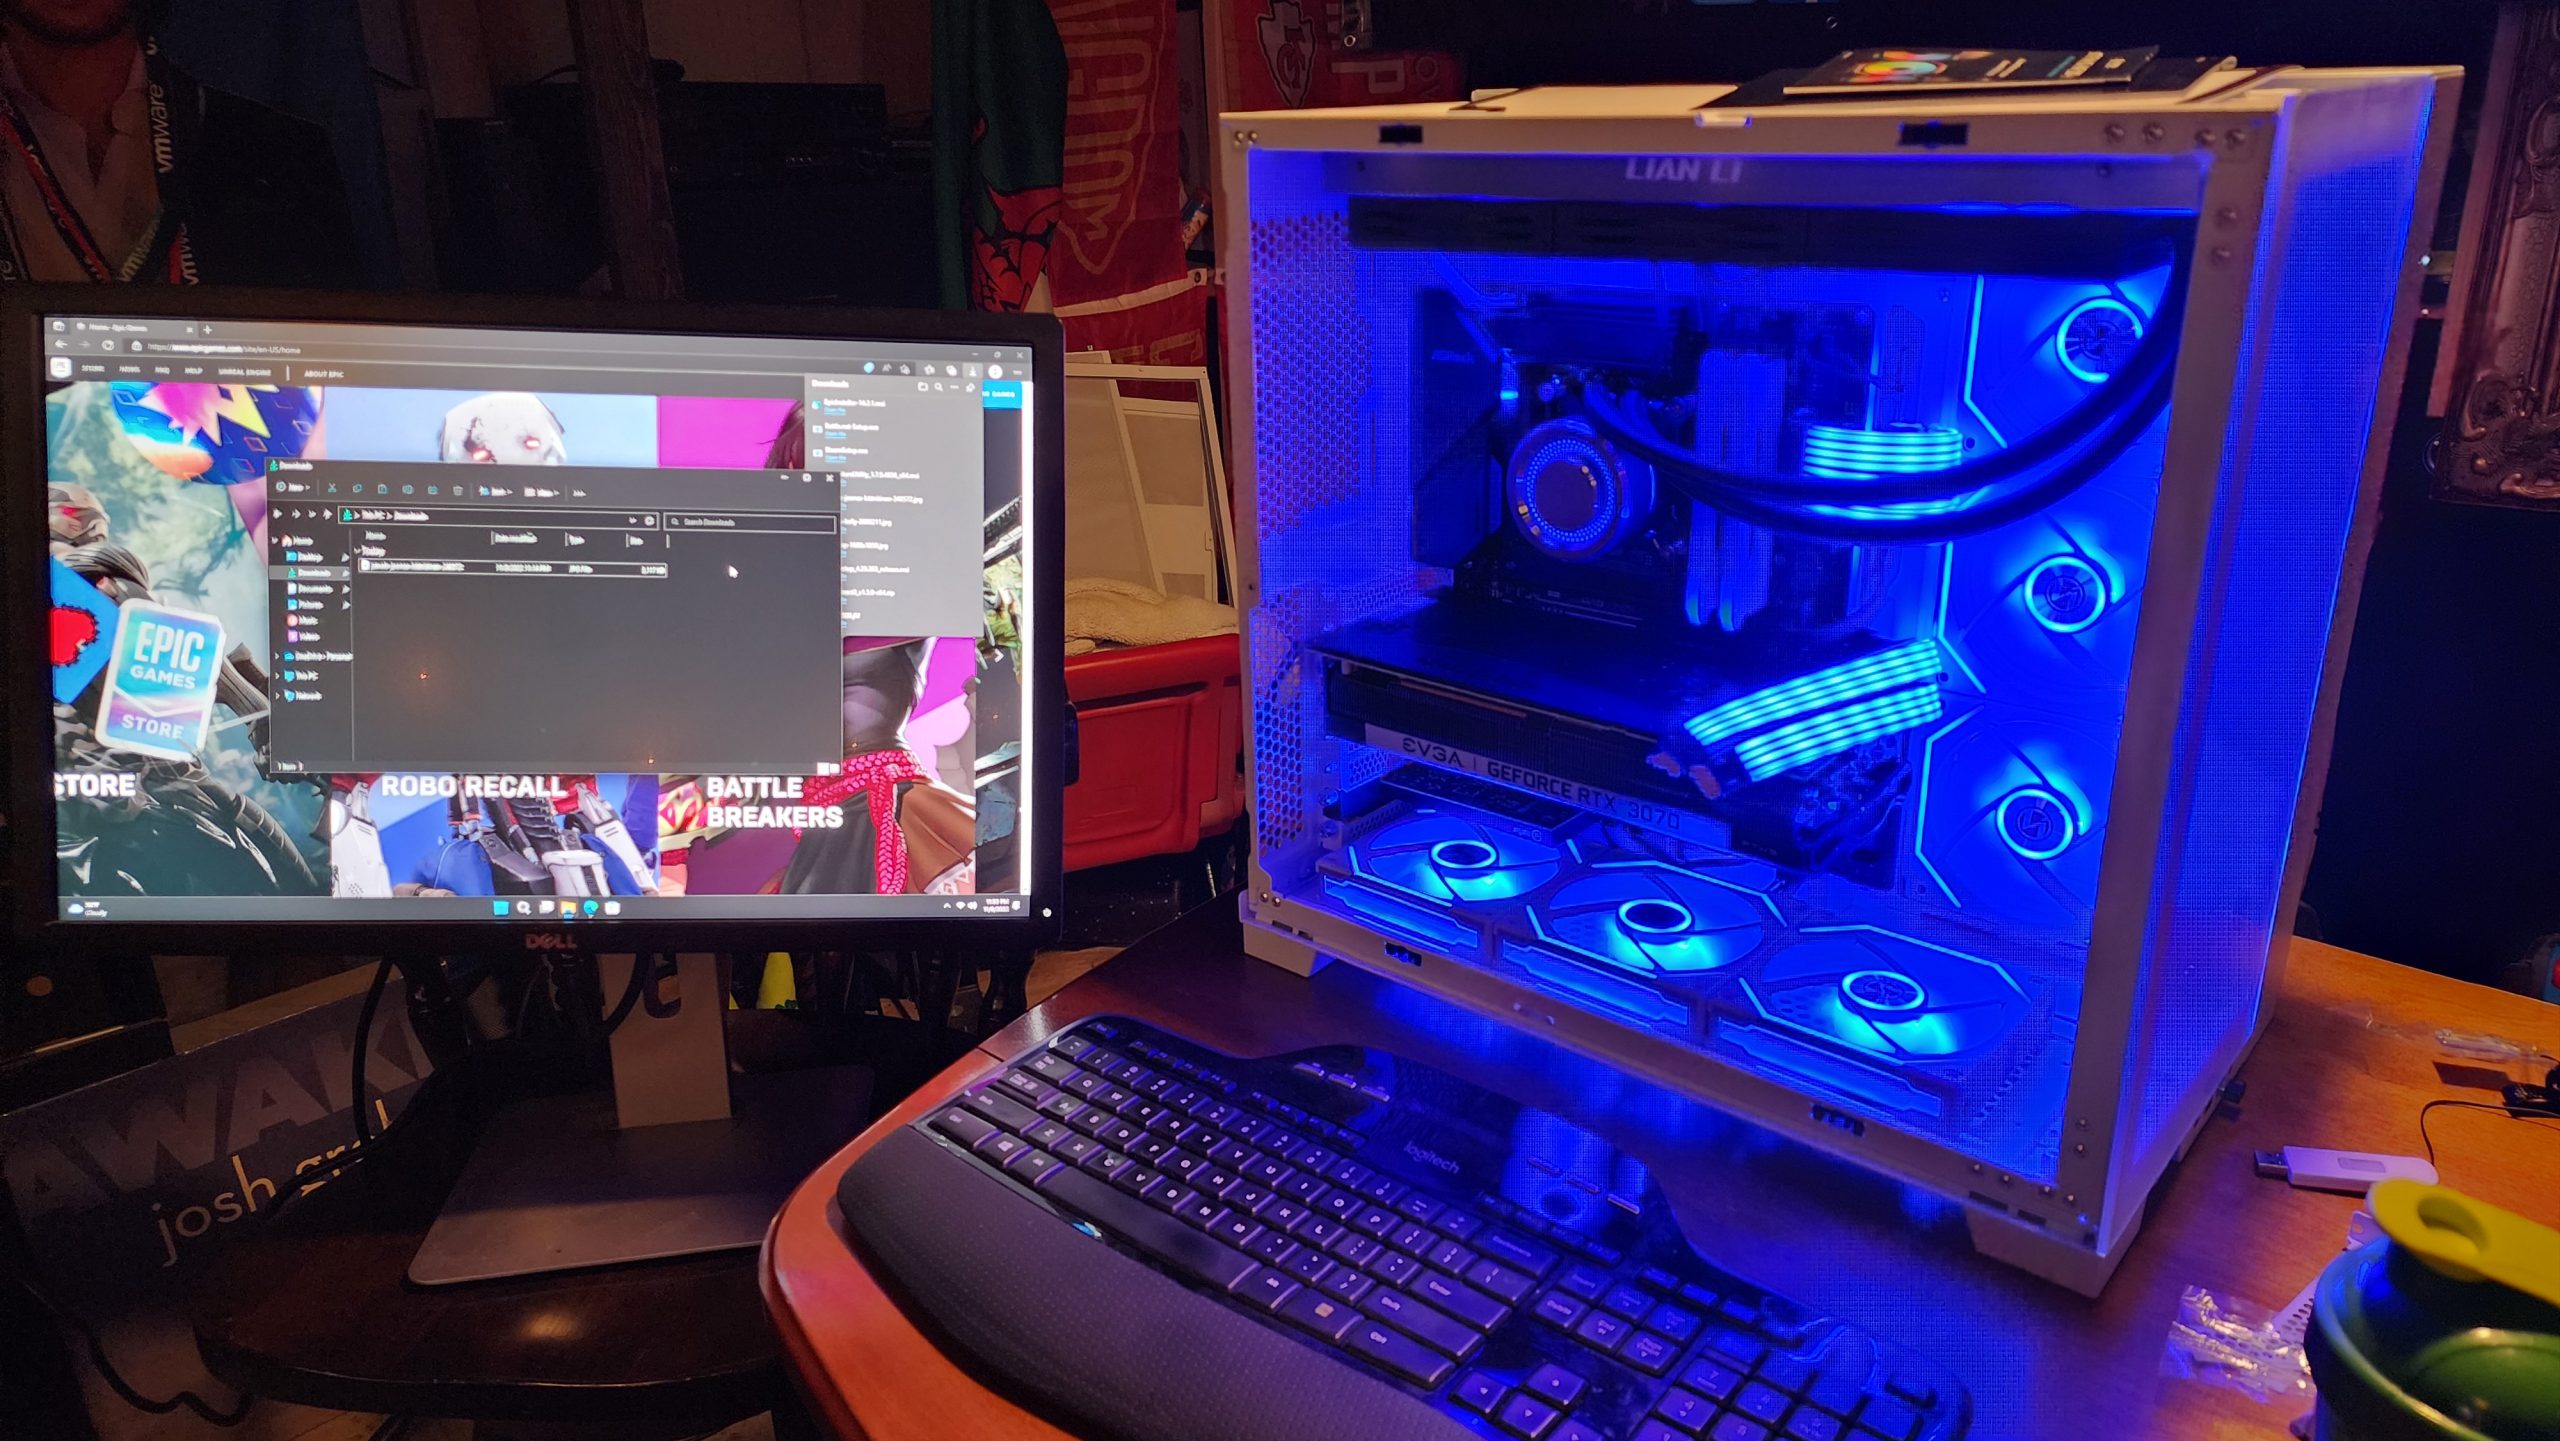
- GPU: NVIDIA GeForce RTX 3090 or AMD Radeon RX 6900 XT
- RAM: 32GB or 64GB DDR4-3600
- Storage: 1TB or 2TB NVMe SSD
- Power Supply: 850W or 1000W 80+ Gold Certified
- Case: Full Tower or Mid Tower with good airflow
Step 2: Prepare for Building
Once you have all the parts, it’s time to prepare for building. Here’s what you’ll need:
- Anti-static wristband
- Screwdriver
- Thermal paste
- Cable ties
- Tweezers
- Flashlight
Step 3: Assemble the PC
Now it’s time to put everything together. Follow these steps:
- Install the CPU onto the motherboard.
- Apply thermal paste onto the CPU.
- Attach the CPU cooler onto the CPU.
- Install the RAM onto the motherboard.
- Install the NVMe SSD onto the motherboard.
- Mount the motherboard into the case.
- Install the power supply into the case.
- Connect the necessary cables from the power supply to the motherboard and other components.
- Install the GPU onto the motherboard.
- Connect the necessary cables from the GPU to the power supply and monitor.
Step 4: Boot Up and Test
Once everything is assembled, it’s time to boot up and test. Here’s what to do:
- Connect the power cable to the power supply and turn on the switch.
- Press the power button on the case to start the computer.
- Enter the BIOS and make sure all components are detected and running at their correct speeds.
- Install your operating system and drivers.
- Run benchmark tests to ensure everything is running smoothly.
Congratulations! You’ve built your own top-of-the-line gaming computer. Now it’s time to enjoy all the power and performance it has to offer.
In conclusion, building a gaming computer can be a fun and rewarding experience. By following these steps and choosing the right components, you can create a machine that will deliver the ultimate gaming experience. So what are you waiting for? Get started on your own gaming beast today!
Leave a Reply